How to Safely Install a New Ceiling Fan: A Beginner’s Guide
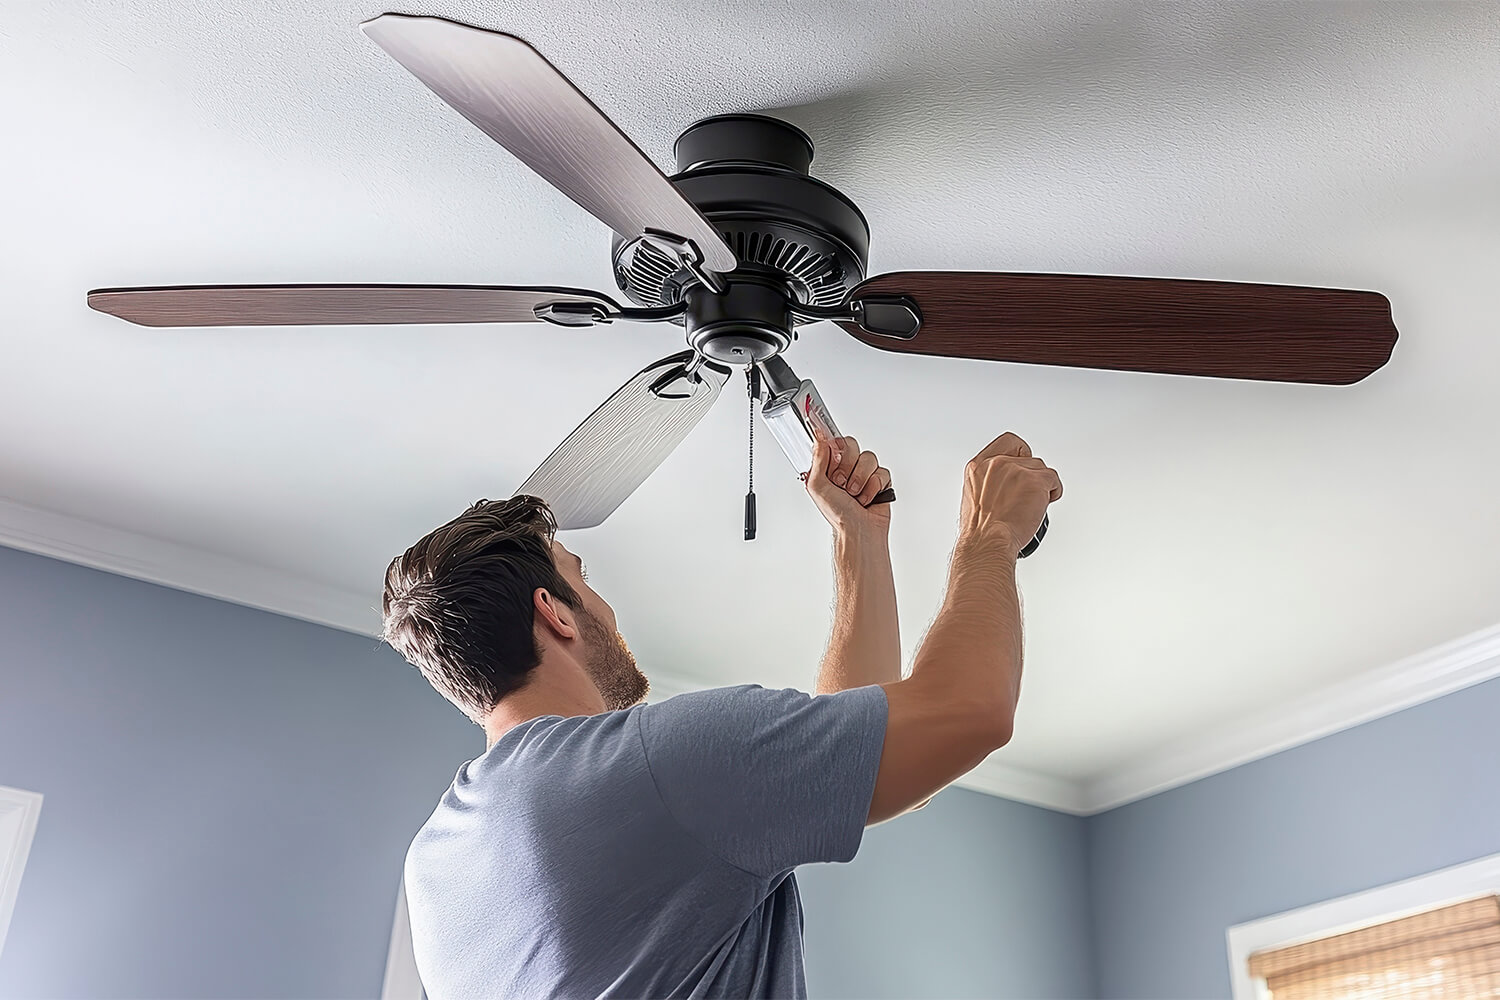
Installing a ceiling fan is an effective way to improve airflow, reduce energy costs, and add a touch of elegance to any room. While the process may seem daunting, with the right tools, preparation, and attention to safety, it’s a task you can tackle confidently. This blog walks you through the essential steps to install a new ceiling fan successfully.
Why Install a Ceiling Fan?
Ceiling fans are more than just decorative fixtures. They help circulate air, keeping rooms cool in summer and evenly distributing warm air during winter. This reduces dependence on heating and cooling systems, saving energy and money.
Step 1: Safety and Preparation
Before starting, make sure you’re equipped to handle electrical tasks. In many regions, certain electrical work must be done by licensed electricians to ensure safety and compliance with local laws. In case you need some help, always consult a professional.
Essential Tools and Materials
- Ceiling fan kit
- Voltage tester
- Screwdrivers (flathead and Phillips)
- Wire strippers
- Pliers
- Fan-rated electrical box
- Ladder
- Mounting hardware (usually included in the fan kit)
Turn Off the Power
Switch off the power to the room at the circuit breaker. Use a voltage tester to confirm no current is flowing before you begin.
Step 2: Choose the Right Location
The placement of your ceiling fan matters. Consider the following:
Room Size: Larger rooms require fans with longer blades for effective air circulation.
Ceiling Height: Ensure the fan is at least 7 feet from the floor and 18 inches from walls or sloped ceilings.
Structural Support: The ceiling must support the fan’s weight. If the current electrical box isn’t fan-rated, replace it with one designed for heavy fixtures.
Step 3: Remove Existing Fixture
If replacing a light fixture:
- Unscrew and remove the fixture’s components, including bulbs, covers, and mounting brackets.
- Disconnect the wires carefully, noting how they are arranged.
- Remove the electrical box if it isn’t rated for fan support.
Step 4: Install a Fan-Rated Electrical Box
Secure a fan-rated electrical box to a ceiling joist or use a brace bar for additional stability. This is critical to prevent the fan from wobbling or falling.
Step 5: Assemble the Fan
Follow the manufacturer’s instructions to preassemble parts of the fan, such as the motor housing, downrod (if applicable), and mounting bracket.
Step 6: Attach the Mounting Bracket
Mount the bracket securely to the fan-rated electrical box. Ensure its level, as an uneven bracket can cause the fan to wobble.
Step 7: Wire the Ceiling Fan
Connecting the wires correctly is crucial for safety and functionality. Match the fan’s wires to the corresponding ceiling wires:
Black (or red): Hot wire for the fan motor
Blue: Hot wire for the fan light (if applicable)
White: Neutral wire
Green or bare copper: Ground wire
Use wire connectors to secure the connections and carefully tuck them into the electrical box.
Step 8: Attach the Fan Blades and Light Fixture
- Secure the fan blades to the motor housing using the provided screws. Ensure they are evenly spaced and tightened.
- If your fan includes a light fixture, attach it following the manufacturer’s instructions, ensuring all electrical connections are secure.
Step 9: Secure the Canopy and Finish Installation
Attach the canopy to cover the mounting bracket and electrical box. Install any decorative elements or covers included with your fan.
Step 10: Restore Power and Test
- Turn the circuit breaker back on.
- Test the fan by operating it at all speed settings. If it includes a light, check the light functionality as well.
- Observe any wobbling or unusual noises. If adjustments are needed, refer to the fan’s manual.
Tips for a Successful Installation
Use a Helper: Ceiling fans can be heavy. Having someone hold the fan while you secure it can make the process easier.
Balance the Blades: If the fan wobbles, use the balancing kit included in the package to even out the blades.
Professional Help: If at any stage you feel unsure or if local regulations require it, hire a licensed electrician.
Conclusion
Installing a new ceiling fan is a DIY project that enhances comfort and saves energy. By following these steps and prioritising safety, you can achieve a professional-quality installation. In case you need some assistance, consult a professional to ensure peace of mind and compliance with local standards.
Now, with your fan installed, enjoy the airflow and aesthetic charm it brings to your space!


